

 Researching & developing the best products
 Reliable customer support
 Supporting young talent in the SFX field
Prosthetic Transfer Material Guide

Step 1:
To begin, you'll need PTMTM, tongue depressors, scissors, PTMTM release film, a Hi-Ro SlipTM silicone mold, a flat (preferably freezable) slab and a freezer.

Step 2:

|
Cavity -The deepest point(s) of a mold which becomes the highest point(s) of your transfer. Flashing Trench -The border surrounding the cavity that helps capture excess PTM TM . Cutting Edge - The edge dividing the cavity from the flashing trench. Contact with your release film on the cutting edge will create a blending edge. |
Step 3
Pre-cut the release film
Get familiar with your mold and the terminology we use to describe the different parts of your mold.
Cut the clear release film slightly larger than your mold.

Step 4
Place your mold on your flat slab and begin with a decent amount of PTMTM on a tongue depressor (A). Start by filling the deepest point of the cavity (B). Continue adding PTMTM until you have a nice even layer

Note: Make sure all cavities are fully filled Note: Smooth out your PTM TM to their deepest points to eliminate trapped air. like icing on a cake.
Step 5 Laying the release Film
Place the clear release film against one side of your mold (A). Using the flat side of a tongue depressor against the backside of the release film, begin brushing left to right while moving forward, simultaneously (B). Finish laying the release film over your mold and pushing trapped air out until fully covered (C).

Step 6 "Squeegee"
Use a tongue depressor like a "squeegee" and always start from the middle of your mold (A). Press down and pull excess PTMTM into your mold's flashing trench (B). Continue to rotate your mold if needed to allow for even distribution of PTMTM. This will create a nice transparency (lack of material) around your mold's cutting edge (C).

Step 7
Place your slab with transfer into a freezer for 1-2 hours, depending on transfers size and thickness.
Step: Demould
Remove your mold from the freezer (A). Turn over and place your mold face down on your cold slab (B). Starting from one corner, peel your mold carefully up away from the release film (C).

Note: Take your time and maintain contact with your cold slab
Demould: Step 2
Remove the flashing material from your cutting edge while still frozen on your cold slab (A). Use your finger nail to get it started, then use a plucking motion to pull away the material from your transfer (B). Your transfer is now finished and ready to dry (C).
Note: Rotating your transfer while pulling makes for easier removal.
Demould: Step 3
Place in a safe area for drying. Your prosthetic transfer, depending on its size, may take 1 DAY to 3 WEEKS for a complete dry

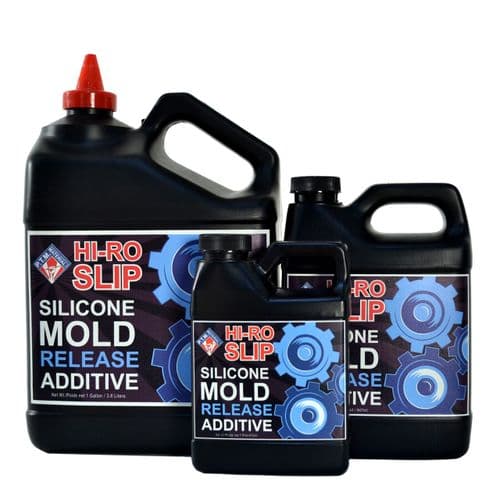
Hi-Ro Slip was developed and designed to create self-releasing Prosthetic Transfer silicone moulds, it's a huge time saver!

P.T.M. Clear tone provides you the option to reduce the opacity of our flesh tones to give you that perfect blend between colour and transparency.
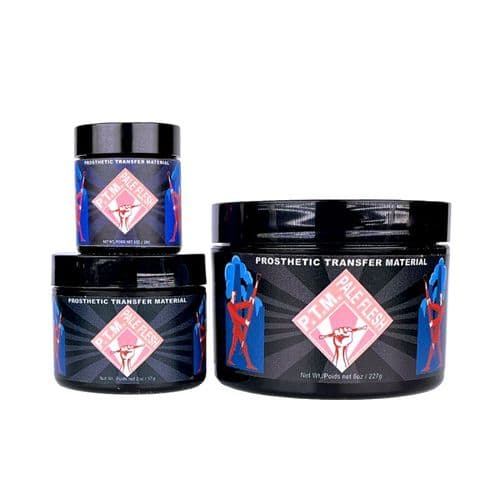
P.T.M Pale Flesh will blend most naturally with fair Caucasian skin tones due to the white:pink pigment ratio used.

P.T.M. Dark Flesh tone works best with nearly all darker skin tones. The slightly reddish undertone makes for a more natural looking paint while the brown tone allows for seamless blending.
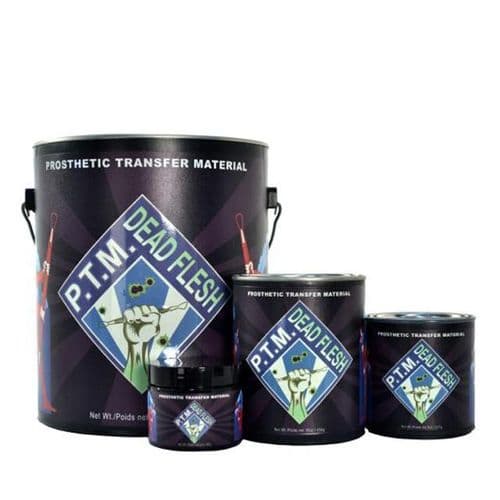
P.T.M. Dead Flesh may be the closest thing to actual rotten flesh as you’re going to want or need. With minimal makeup needed and quick application process, you can have zombies running in no time.

P.T.M. Light Flesh tone has a more natural look compared to our Pink 5. This tone blends more naturally with most Caucasian skin tones straight out of the jar and creates a lesser need for paint over the top.
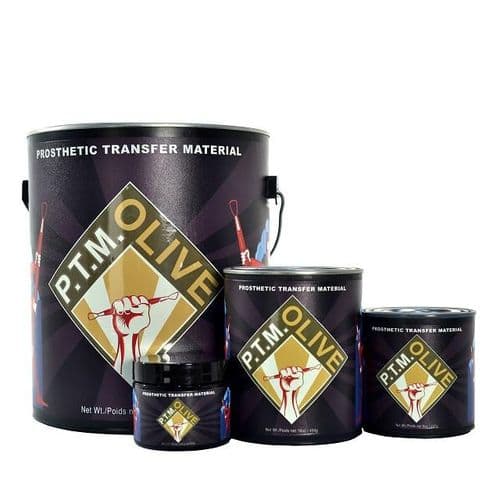
P.T.M. Olive tone blends great with various types of warm skin tones and/or skin tones considered to be light tan in colour.
P.T.M. Pink 5 provides a realistic and healthy looking under glow for any make-ups being applied to your transfers and works great for almost every Caucasian and dark skin tones.

P.T.M's custom coated, double-sided release film is designed to release from Prosthetic Transfers with ease and minimal confusion unlike other one-sided release films.